

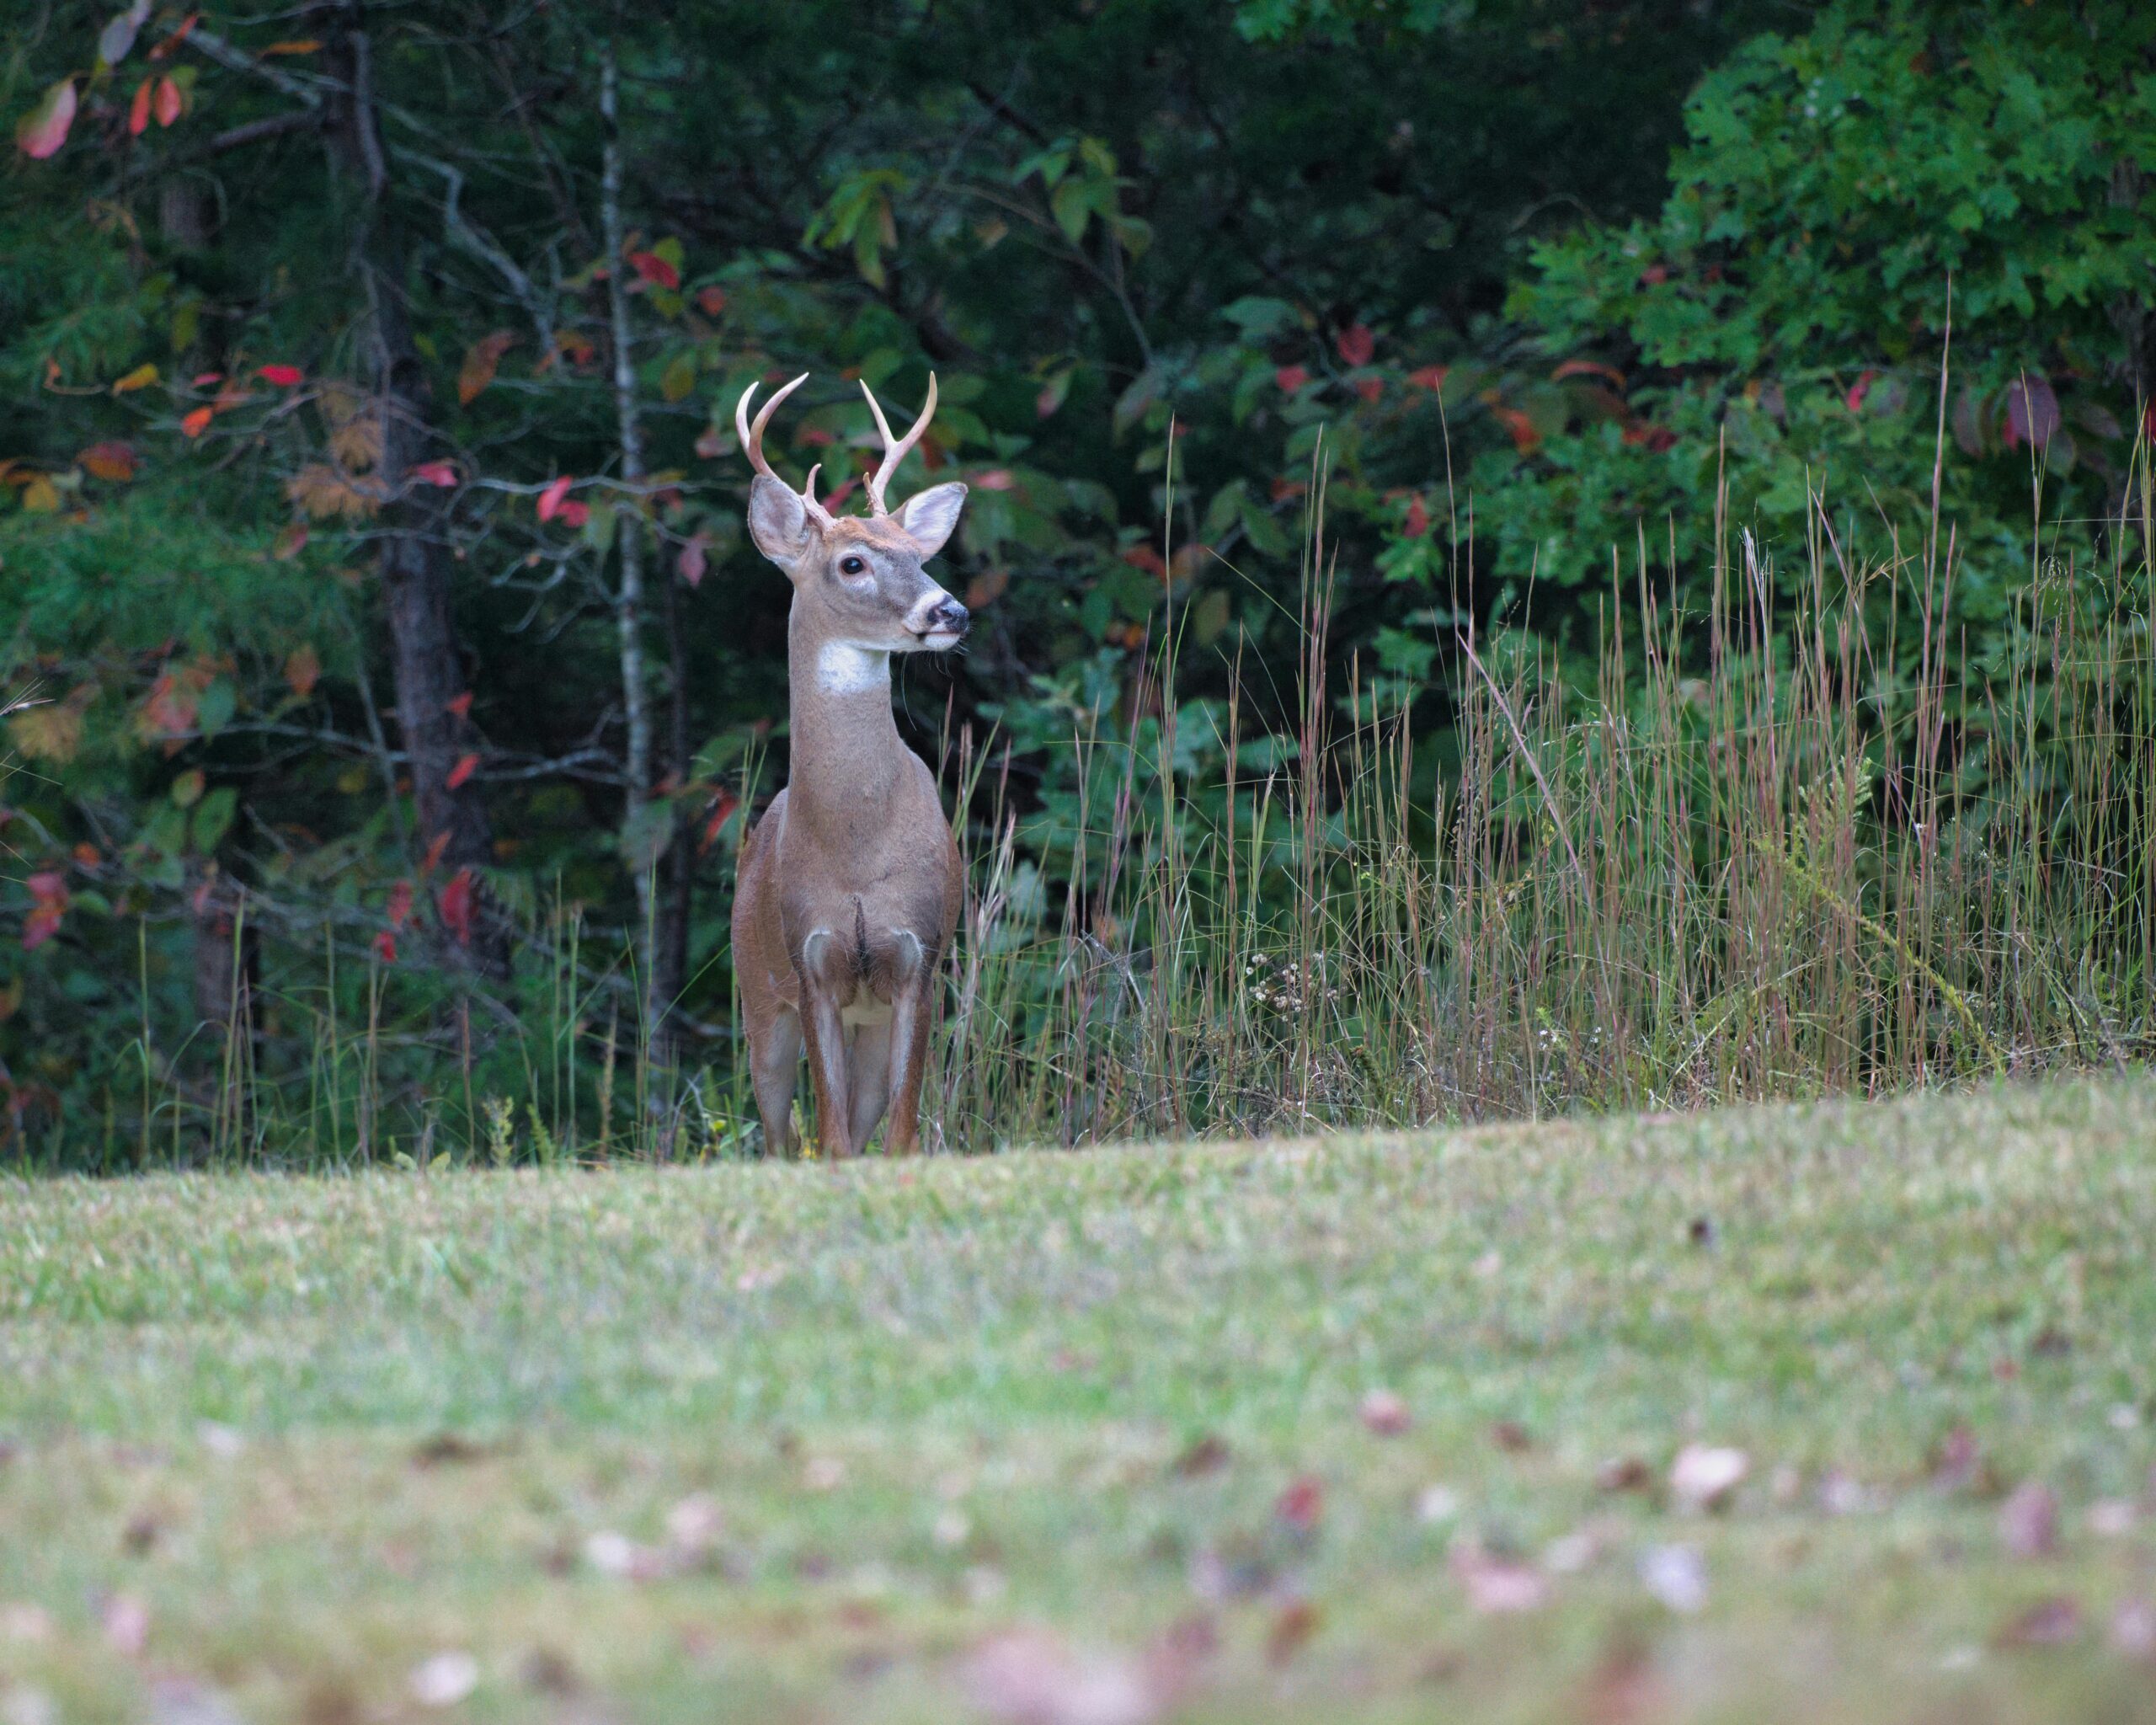
It is 4:52 PM. The light is gone in under thirty minutes. Your deer is down in a creek bottom 300 yards from the truck, and the temperature is dropping through the twenties. You have a knife. You have a headlamp. You may have watched a YouTube video about this back in September when the season felt abstract. Now it does not feel abstract at all.
Most field dressing guides were written for hunters in mild weather who have all afternoon. They describe the ideal scenario: level ground, good light, a friend on the other leg, take your time. That is not always what happens in Minnesota in November. What happens is that you are alone, the temperature is making your hands stiff, and you need to move fast enough to preserve the meat but careful enough not to gut-shoot yourself with your own knife. The guides that skip that reality are not actually useful.
I have field dressed deer in conditions ranging from a pleasant October afternoon in the hardwoods to a pitch-black November night with a headlamp in my teeth and ice forming on the grass around the carcass. I have made every mistake worth making: nicked a gut, left the heart in a deer because I did not reach far enough into the chest cavity, and once dragged a doe two hundred yards before I realized I had not freed the windpipe. This guide is what I know from doing it wrong enough times that I now do it right.
What follows is a complete step-by-step walkthrough of the field dressing process: what tools you need, how to position the deer, every cut in order, what to do when something goes sideways, and the cold-weather specifics that matter for Midwest hunters specifically. Minnesota registration requirements and CWD considerations are also addressed, because getting those wrong is just as costly as a bad cut.
The Short Answer: To field dress a deer: tag the animal first, then make a shallow belly cut from pelvis to sternum, free the rectum and urinary tract, remove the diaphragm, reach into the chest to sever the windpipe and esophagus, and roll the entrails out. Work from the inside out to avoid puncturing organs or dulling your knife on hair. A sharp knife and a headlamp are the only tools you truly need. In Midwest temperatures, speed matters more than technique, cool the cavity fast.
What You Need Before You Make the First Cut
The honest truth is that you can field dress a deer with a single sharp fixed-blade knife and nothing else. Everything else is a convenience. That said, the right gear makes a cold, dark evening in the woods significantly less miserable.
The Non-Negotiables
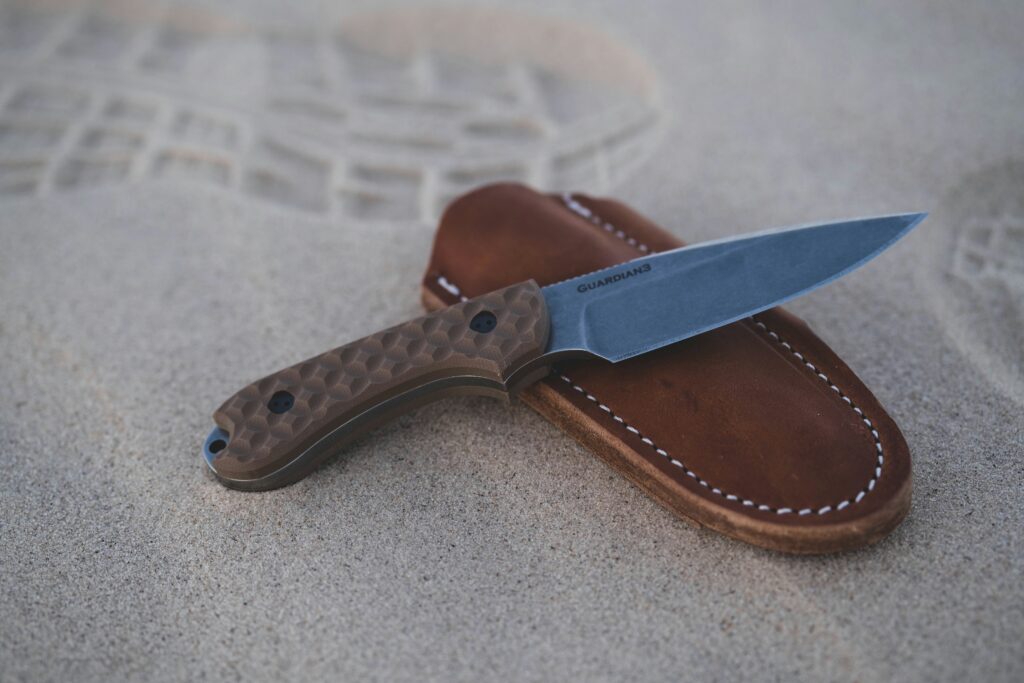
A sharp knife is the single most important thing you bring into the field. A dull blade does not just slow you down, it makes precise cuts impossible and dramatically raises the risk of slipping and injuring yourself. A fixed-blade knife with a 3- to 4-inch blade handles every cut in the process. Sharpen it the night before. Run a strop over it the morning of the hunt. Do not bring a dull knife into November and expect good results.
A headlamp with fresh batteries is close to mandatory for any deer shot after 3:30 PM in Minnesota firearm season. Hands-free light is not optional when both hands are inside a body cavity. A cheap headlamp that fails at the wrong moment is a miserable experience I would not wish on anyone.
The Things Worth Carrying
Latex or nitrile gloves, ideally a pair of shoulder-length disposable gloves if you can find them keep your hands cleaner and make cleanup faster. They matter more in CWD-positive zones, but they are a good habit everywhere. A small bone saw helps if you choose to split the pelvis or open the chest cavity, though neither is strictly required. A drag rope or ratchet strap saves your back on the way out. A gallon zip-lock bag lets you save the heart and liver without losing them in the gut pile, and those organs are worth saving.
What you do not need: the gut hook gimmick knives marketed to beginners. They are slow, imprecise, and teach you nothing about actual cutting technique. Your index finger as a blade guide does a better job and costs nothing.
Before You Touch the Knife: Tag and Register
Minnesota law requires that your deer be tagged before the animal is moved from the kill site. Validate your tag at the site of the kill before you do anything else. Antlers on a legal buck must remain attached to the carcass until the deer is registered. Registration must happen before any processing, either privately or at a commercial processor, and must be completed within 24 hours of the close of the season in which the deer was taken.
Minnesota now offers three registration options: walk-in registration stations (look for the orange signs), online registration, and telephone registration. All three require accurate information: the correct date, sex, age, and deer permit area. You can quarter a deer prior to registration as long as all quarters remain together and the head stays attached to one quarter. Visit the Minnesota DNR harvest registration page to confirm current options before your season.
CWD Note for Minnesota Hunters: If you are hunting in a CWD management zone, several active zones exist in southeastern Minnesota, whole carcasses cannot be transported out of the zone until a “not detected” test result is confirmed. Plan to quarter or bone the deer before leaving the zone. Check the MN DNR CWD management zone page before your hunt if you are in SE Minnesota, particularly Permit Areas 601, 604, 605, and surrounding areas.
How to Field Dress a Deer: Every Step in Order
Position the deer on its back. If you are on a slope and in the Driftless Area or the river bluff country of SE Minnesota, you often are, get the head uphill. Gravity works for you when the head is elevated. Spread the hind legs apart. If you are alone, prop the deer against a log or use a rock to keep it from rolling. A length of paracord tied to a hind leg and wrapped around a nearby trunk is the easiest solution when the terrain does not cooperate.
Step 1: Free the Rectum and Urinary Tract
This step eliminates the biggest contamination risk in the whole process, so do it first while your hands are clean and your knife is still sharp. Circle the anus with your knife, cutting about an inch into the tissue surrounding it. Go deep enough to separate the large intestine from the pelvic attachment. On a buck, cut away the penis and testicles at the base. Tie off the colon with a piece of string or a zip tie if you have one, this keeps fecal matter contained when you pull the intestines out in Step 4. If you forget this step, you will remember it when you are elbow-deep in the lower cavity.
Step 2: Open the Belly — Shallow and Controlled
This is the cut most beginners get wrong. Start just below the breastbone and work toward the pelvis. The critical technique: insert the blade edge-up, then ride two fingers of your non-knife hand on either side of the blade like a V, pressing the stomach away from the edge as you draw the knife forward. You are cutting from the inside out, not the outside in. Cut only through hide and the thin abdominal wall. A shallow puncture of the stomach or intestines fills the body cavity with partially digested material and taints the meat. Work slowly the first six inches until you feel confident, then increase your pace. Stop at the pelvic bone.
Step 3: Remove the Lower Organs
Reach into the lower cavity and pull the intestines and stomach up and away from the spine. Cut any connective tissue holding them in place. The large intestine connects down to the anus, if you tied it off in Step 1, pull it through the pelvis. If the pelvis is tight, use a bone saw or a heavy knife to split the pelvic bone, which opens the channel considerably. Roll the deer on its side and the lower organs will spill out. Do not yank, guide them out. At this point you will see the diaphragm, the thin wall of muscle separating the lower cavity from the chest.
Step 4: Cut the Diaphragm
The diaphragm is the membrane stretched across the inside of the ribcage that separates the gut cavity from the chest cavity. Cut it free by running your knife along the inside of the ribcage from one side to the other. This opens access to the heart and lungs. Do this step cleanly, a sloppy cut that leaves diaphragm tissue attached will make the next step harder.
Step 5: Sever the Windpipe and Esophagus
This is the step most first-timers miss, and it is the one that causes the most spoilage problems. Reach forward into the chest cavity as far as you can, past the heart and lungs, and find the windpipe and esophagus, two tubes running side by side toward the throat. Cut them as far forward as your arm will reach. The farther up you sever them, the less you leave to sour inside the carcass. If you have a long-bladed knife, this is when it earns its keep. Some hunters open the chest by cutting through the sternum with a saw or heavy knife, which gives better access, this is fine as long as you are not mounting the deer.
Step 6: Pull Everything Out
Grip the windpipe and esophagus firmly with both hands and pull downward and back. The heart, lungs, stomach, and intestines should come out together in one mass. If anything is still holding, reach in and cut the remaining connective tissue. Roll the deer onto its side and let the gut pile fall away from the carcass. Now reach back in and check: are the heart and lungs actually out? You would be surprised how often the lungs stay behind because the hunter did not reach far enough. If you want to keep the heart and liver, pull them now and bag them separately. They need to be on ice within 30 minutes.
Step 7: Drain and Cool the Cavity
Tip the carcass so blood drains out of the body cavity. Wipe the inside with dry grass or a clean rag to remove blood pooling along the spine. Do not rinse the cavity with water unless you have a way to dry it afterward, moisture accelerates bacterial growth. Prop the cavity open with a stick to allow airflow. If temperatures are above 40 degrees, pack the cavity with bags of ice or snow immediately. In Minnesota in November, the cold usually handles this for you, but do not assume it.
What Changes When It Is Cold: The Midwest Reality
Every standard field dressing guide assumes moderate temperatures and reasonable light. Minnesota firearm opener sits in early November. Temperatures on opening morning in the Driftless Area or the SE Minnesota bluff country can be anywhere from 45 degrees and pleasant to 12 degrees with a northwest wind. Those conditions change the process in several specific ways.
Stiff Hands Kill Precision
Cold hands are a real safety issue. When your fingers lose dexterity, your knife control degrades. Before you start cutting, take thirty seconds to warm your hands under your arms or in your pockets. If you are wearing heavy mittens, switch to a lighter glove just for the dressing work. You cannot feel what the blade is doing through an insulated mitten, and you need to feel what the blade is doing.
Below Freezing: The Clock Changes
Above 40 degrees, the clock is always ticking against you. Below freezing, the cold is doing your work. A deer shot at first light on a 15-degree morning in November can tolerate a longer wait before field dressing than a deer shot on an October afternoon in 55-degree weather. That said, the organs still sour faster than the muscle tissue does. Get the gut pile out within an hour regardless of temperature, not because the meat will spoil, but because the heart and liver are worth eating, and they do not last long in a warm body cavity even when the air is cold.
Once dressed, a deer in below-freezing temperatures can hang overnight with the cavity propped open. The cold does the aging work for you. This is one of the advantages of hunting in November in the Upper Midwest rather than September in the South. Your window for quality meat is measured in days rather than hours.
Frozen Ground and Body Positioning
Late season in Minnesota brings another variable: frozen ground. Positioning a deer on hard, uneven frozen terrain is harder than doing it on soft fall soil. Carry a short piece of rope to tie a hind leg off to a tree when the ground gives you nothing to work with. In the bluff country along the Root River corridor in Fillmore County, you may also be working on steep sidehill terrain. Take extra time to create a stable platform before you start cutting. A deer that rolls halfway through the process wastes time and contaminates the cavity.
Slush-Freeze: The Worst Condition
The nastiest field dressing condition in the Midwest is not deep cold, it is slush. A deer shot in wet snow that is just above freezing is miserable. The slush works into the cavity, the hair mats to everything, and your gloves are soaked within five minutes. If this is your situation, work faster than you normally would, keep the cavity off the wet snow as much as possible, and get the carcass hung and draining in a protected spot the moment you reach camp. Cold and wet is harder to manage than cold and dry.
When Things Go Sideways: Troubleshooting
You Nicked the Gut
It happens. Even experienced hunters puncture stomach or intestinal material occasionally, especially when the belly is tight with rumen contents after a meal. The moment it happens, stop and address it. Use a dry rag or clean grass to wipe the material off the meat and the inside of the cavity as thoroughly as possible. Do not rinse with water if you can avoid it. The contamination matters less than most people fear, the bacteria on the exterior of intact intestinal material are not deeply dangerous to meat if removed promptly. What you want to avoid is letting stomach acid or intestinal material sit on the hindquarter meat for hours. Get it wiped, get the guts out, and get the cavity cooling.
The Lungs Are Still In There
The most common field dressing failure is leaving the lungs inside the chest cavity. They are far forward in the ribcage, past where most people think to reach. If your deer smells wrong when you open it up at home, this is almost always why. Before you call the field dressing done, reach all the way into the chest and confirm: both lungs are out, the heart is out, and nothing remains but the empty chest wall. It takes ten extra seconds. It saves a ruined deer.
The Deer Ran After the Shot
A deer that runs after being shot and is not found immediately creates a time pressure problem. In warm weather, you want to recover and field dress within 30 to 60 minutes of the shot. In cold weather, the window is longer, but gut contents still sour. If you are tracking a deer in darkness and unsure of the exact location, leave a marker at the last blood sign and note the time of the shot. When you find the animal, prioritize field dressing immediately before dragging, dragging an undressed deer any distance adds body heat to muscle tissue you want to be cooling.
No Saw, Pelvis Will Not Open
If you need to free the colon and the pelvis is too tight to pull it through without a saw, you have two options. First: tie the colon off with a zip tie above where you cut it free at the anus, then work around it, removing the intestines without pulling the colon through the pelvis. Second: use a heavy fixed-blade knife and firm pressure on the cartilage junction of the pelvic symphysis, in younger deer especially, this joint can often be split with a strong blade and body weight without a saw.
SE Minnesota Field Dressing: The Local Variables
Hunting the bluff country of SE Minnesota, Fillmore, Houston, Winona, and Olmsted counties, puts you on terrain that changes nearly every consideration in this guide. The Driftless Area does not cooperate with the flat-ground assumptions built into most deer hunting content.
Deer in this terrain die on sidehill slopes, in creek bottoms, in standing corn, and occasionally on the face of a limestone bluff where there is no flat ground within a hundred yards. Positioning a deer for field dressing on a steep hardwood ridge requires either a rope anchor or a terrain feature, a fallen log, a rock face, anything that keeps the animal from rolling. Work with what is there. Do not try to field dress on a slope steeper than you can comfortably kneel on without bracing.
The Root River and its tributaries run through much of this terrain. A deer shot near water on a warm October archery morning is a deer that needs to be moved before field dressing begins, not dragged into the water for a rinse, but moved to higher, drier ground where the carcass can cool. Damp bottoms hold heat longer than ridges and give you less airflow through an open cavity.
CWD is active in the southeastern corner of Minnesota. Several deer permit areas in this region operate under mandatory testing and carcass movement restrictions. The MN DNR maintains an updated CWD management zone list. If you are hunting in zones 601, 604, 605, or the expanding SE cluster of managed areas, check current requirements before season opener. Getting caught transporting a whole carcass out of a managed zone is not a mistake you want to make after a successful hunt.
Drag distances in the Driftless are often longer than hunters expect. A deer that dies in a creek bottom 400 yards from the nearest two-track in Fillmore County is a legitimate workout to retrieve. Field dress before you drag. Every pound of removed gut content is weight you do not pull out of that creek bottom. A gut pile weighs 12 to 20 pounds depending on the deer, that is real weight on a long drag over rough ground.
After the Gut Pile: Getting Meat From Field to Cooler
Field dressing is the beginning of meat care, not the end. What happens in the next four to twelve hours determines the quality of what ends up on your table.
The target temperature for the body cavity is 40 degrees or below. In Minnesota firearm season, air temperature usually handles this for you, but “usually” is not always. A November afternoon that starts at 28 degrees can warm to 48 by afternoon. Monitor conditions and get the deer hanging or into a cooler if temperatures rise. Keep a cooler of ice in the truck as a backup option. It is easier to pack the cavity with ice bags during a warm afternoon drive than to explain to your processor why the hindquarters went bad.
Hanging a field-dressed deer in a cool garage or skinning shed is ideal for aging. Controlled aging at 34 to 40 degrees for three to seven days improves tenderness and flavor meaningfully. Skin the deer before hanging, the hide retains heat and slows the cooling process. If you are taking the deer to a processor, most Minnesota processors prefer the deer delivered the same day or within 24 hours. Call ahead and ask what they want.
The USDA and University of Minnesota Extension recommend that venison reaching an internal temperature above 40 degrees for more than two cumulative hours should be treated as compromised. This is a conservative standard, and in cold Midwest conditions most deer never come close to it. But it is the right benchmark to keep in your head, especially during early archery season when October temperatures can run warm.
Looking For More
If this guide helped you prepare for deer season, here is what we use for gear:
FAQs
In cold temperatures below 40 degrees you have more time than you think, but the organs still sour faster than the muscle meat. A reasonable rule: get the gut pile out within an hour of recovery regardless of temperature. In warm weather (above 50 degrees), that window shrinks to 30 minutes or less. The bacteria that spoil meat come largely from the organs, not from the muscle tissue itself. Get them out fast.
The tarsal glands on the hind legs will not contaminate the meat as long as you do not cut through them and then touch the meat with the same knife. Many hunters remove them as a precaution. If you field dress with gloves and switch gloves or wipe your blade before handling meat, you will not have a problem. The smell is strong but the contamination risk is low if you are careful.
No, and most experienced hunters would tell you the same. Water introduces moisture that accelerates bacterial growth. The inside of a properly dressed deer cavity is naturally low in bacteria. Wipe it dry with clean grass or a cloth rag. If you had a gut puncture, wipe aggressively to remove the material and then let the cold air do the work. Rinsing the cavity and then packing it into a truck cab is worse than leaving it clean and dry.
Yes, and most hunters do. Prop the hind legs apart using a stick wedged between them, or tie one leg off to a tree. Use your non-knife hand to guide the blade and keep organs away from the edge. Work methodically. The only step that is genuinely harder alone is reaching the windpipe, it helps to have someone hold a ribcage open, but you can manage with a stick propped inside the chest. Solo deer dressing gets faster with every season.
Leave it where the deer died. In Minnesota, leaving gut pile and associated carcass parts on-site while field dressing is still permitted on both public and private land, provided you have permission to be there. Gut piles are consumed quickly by ravens, eagles, coyotes, and foxes. Do not haul the entrails out and dump them somewhere else, that creates a different kind of problem. Leave them where they fell and let the ecosystem handle it.
Not for field dressing, no. In Minnesota, a buck’s antlers must remain attached to the carcass until the deer is registered. After registration, you can remove the head for processing or transport as you see fit. If you are hunting in a CWD management zone, pay close attention to the carcass movement rules, the head may need to stay in the zone, or go directly to a taxidermist within 48 hours.
